You will need (4) 10-32 x 1-1/4” Socket Head cap screw for the spindle mount plate and (2) 10-32 x 1-1/2” Socket Head cap screws for the bed extension.
Find yourself a 3.5” x 1.5” x .75” Piece of aluminum or steel and two spacer of equal thickness for the bed extension. I just bought a extruded piece of 6061 aluminum and cut it off. The thickness tolerance was less then .001" so I just flat sanded it square. Measured accordingly to make sure it was in tolerance for my needs. If you’re not in a hurry you can CNC a special plate for both areas. I choose to lathe out two 1” OD spacers and used a drill press to drill 6 oversized holes in the upper extension. Used the existing spindle mount for spotting the holes. If you lathe a couple spacers make sure they are large enough OD to handle the lead screw/plate load.
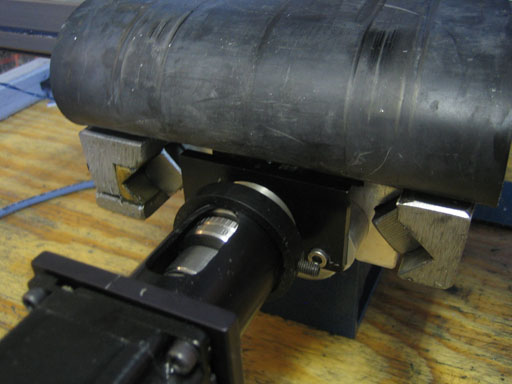
Spacer block installed. Now would be a good time to check for perpendicularity to see if you need to shim behind the headstock mounting plate. You wont get a good reading off the mounting plate so you will have to attach the spindle head.
Spacers installed on the Y axis extrusion. Use the (2) 10-32 x 1-1/2”.
The Saddle casting will hang over a little. The is not a big deal. The rear of the casting already hangs over next to the headstock 1/4 of a inch if your using the full 5.5” of travel. If you adjust the lead screw backlash, be sure you adjust it normally at the center of the lead screw travel because the end of the lead screw hasn't wore in.
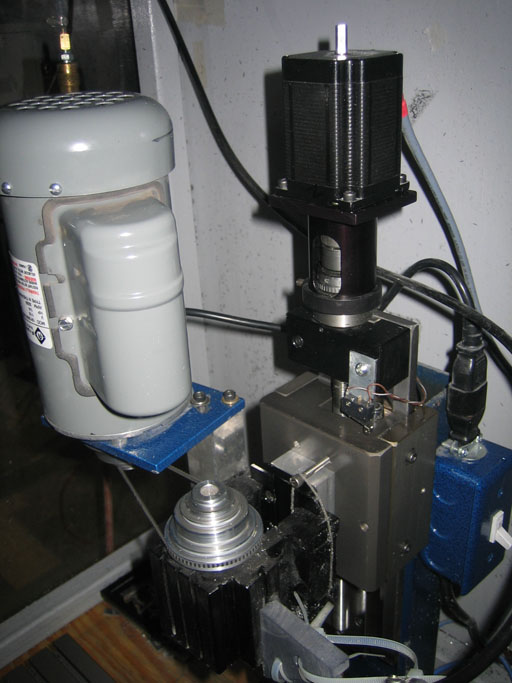
With the Z axis done, you will have extra clearance to tighten the motor mount adjustment screws.
Don’t forget to change your Y travel in your software.