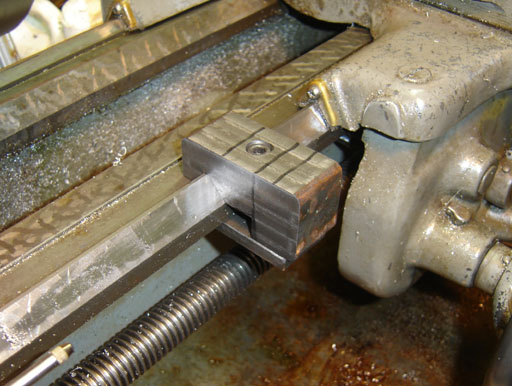

I've had a chunk of cast iron put aside for over a year so I can make a DTI mount for my South Bend lathe. I found the magnetic indicator mount I was using was shifting, which negates the utility. So I decided to wing it and just carve one out. I didn't use anything more precise in this job than a Sharpie and my eyeballs for layout, although having a 45 degree angle gage helped when setting the piece for the vee groove.
|
Milling the saw cuts flat. |
|
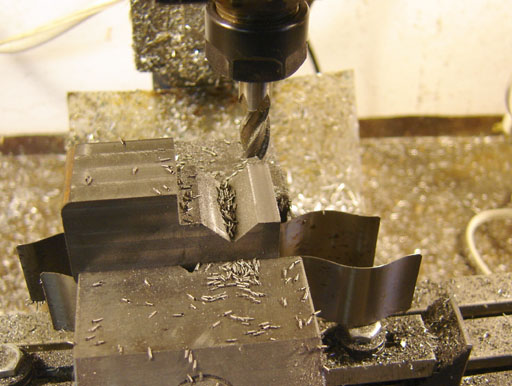
Roughing it out. |
|
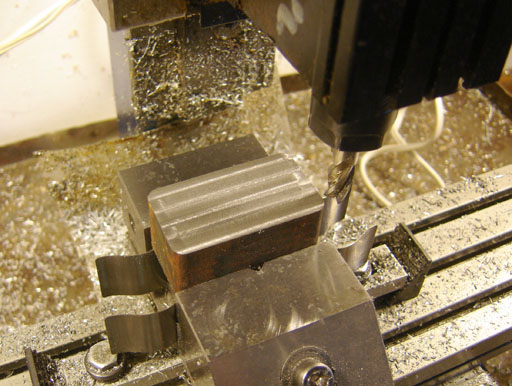
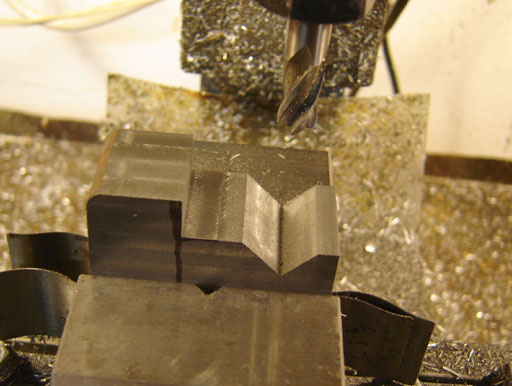
Milling the 90 degree vee. |
|
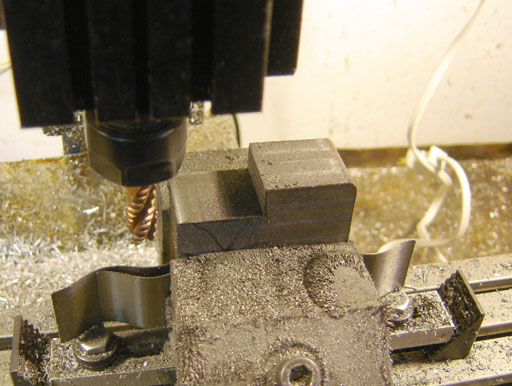
Milling the far end for relief from the ways. |
|
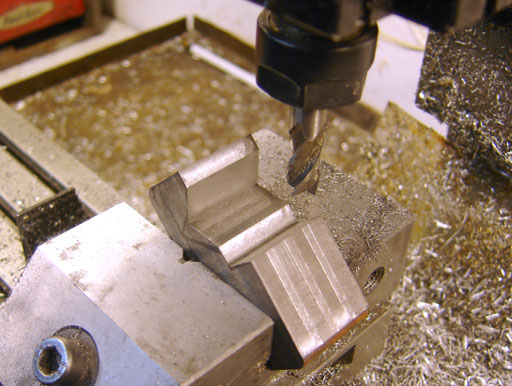
Milling out a bit more. |
|
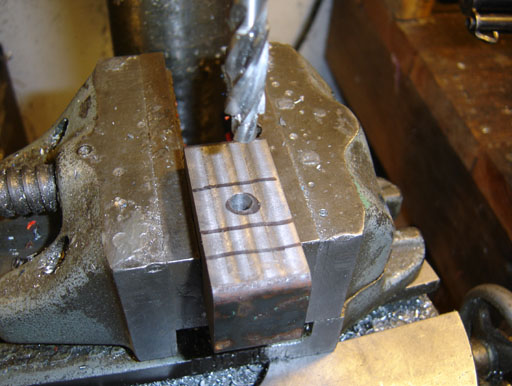
Counterboring for the clamping bolt. |
|
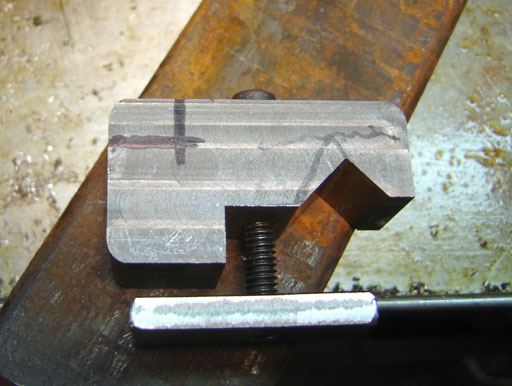
Transferring the bolt hole to a clamp plate. |
|
Tapping the plate. |
|
Looking good! |
|
Hole for the indicator laid out. |
|
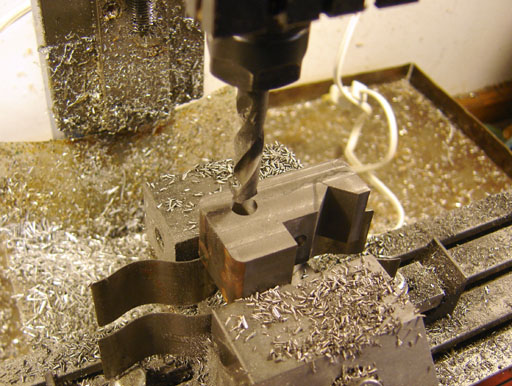
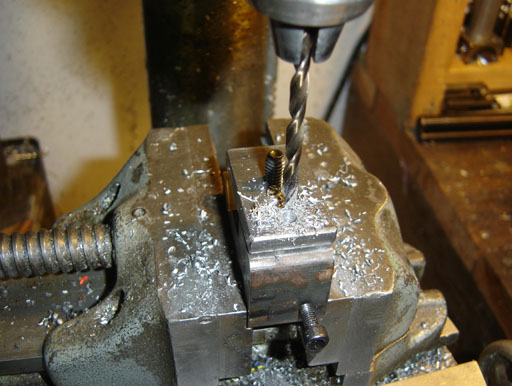
Drilling. |
|
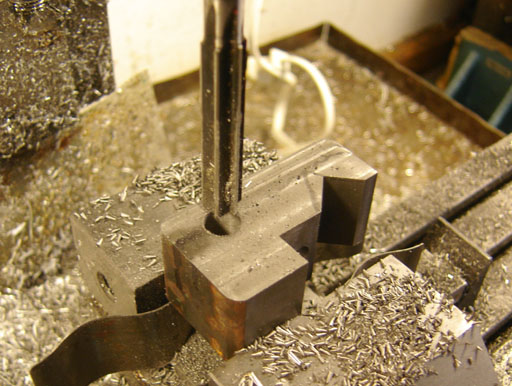
Reaming to 3/8" I have a 3/8" reamer with a shorter shank that I use on the Taig mill. |
|
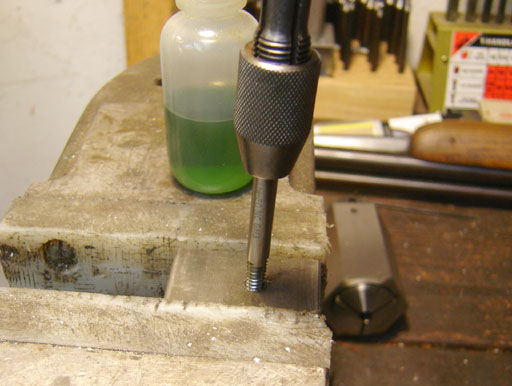
Tapping for the indicator lock screw. |
|
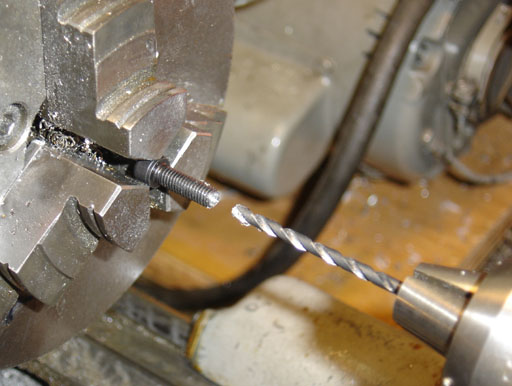
Drilling out the end of a #10 screw. |
|
A small piece of brass was pressed in and faced off. |
|
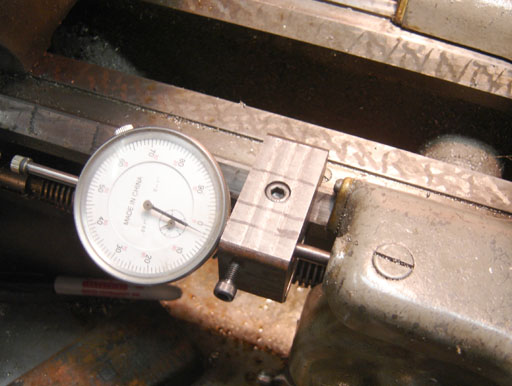
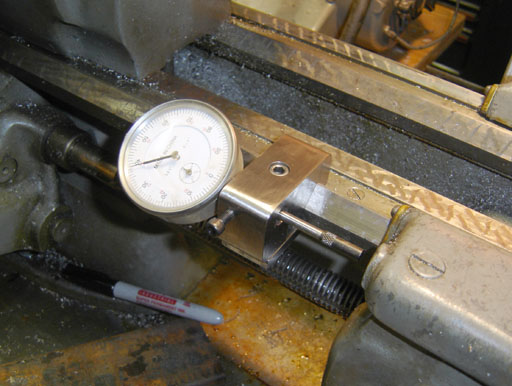
It works! |
|
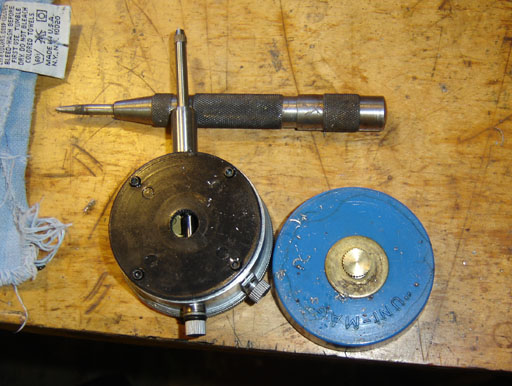
I lifted the magnetic base indicator off the lathe and it fell apart...I guess this was the cause of the slop. I can't believe it was just pressed together... |
|
Match drilling the plate and stop. |
|
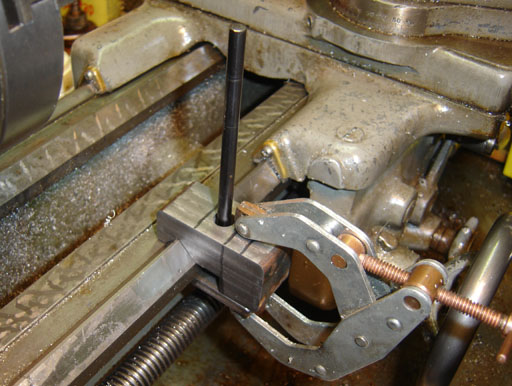
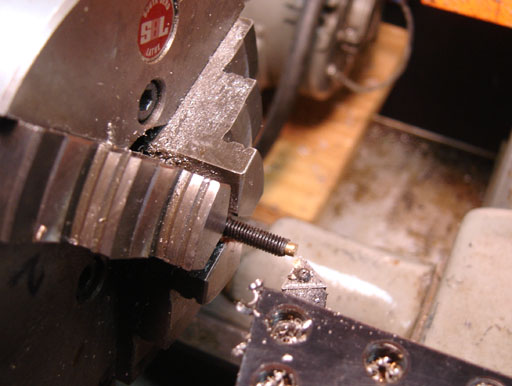
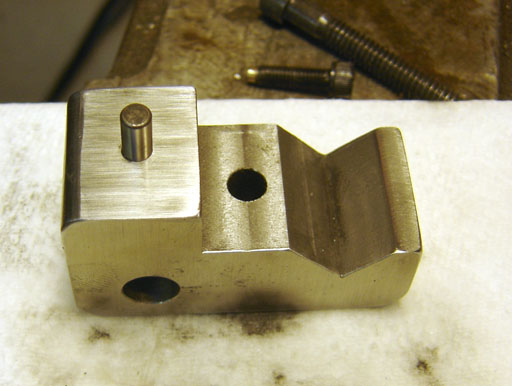
A dowel pin pressed into the hole to keep the clamp plate aligned. The clamp plate hole was drilled slightly larger. |
|
I sanded and deburred all the surfaces and edges. About an hour and a half of relaxing and imprecise machining. It locks up rock solid. Little accessories like this pay for themselves the first time you use them. |